

Framing
Archival Print Mounting
We combine craftsmanship with archival-grade materials to mount your prints to the highest standards. We use P.A.T. (ISO 18916) certified adhesives for archival mounting on substrates such as Aluminium Composite (Dibond/Alupanel). Our non-archival solutions include mounting and lamination for short-term exhibitions and displays.
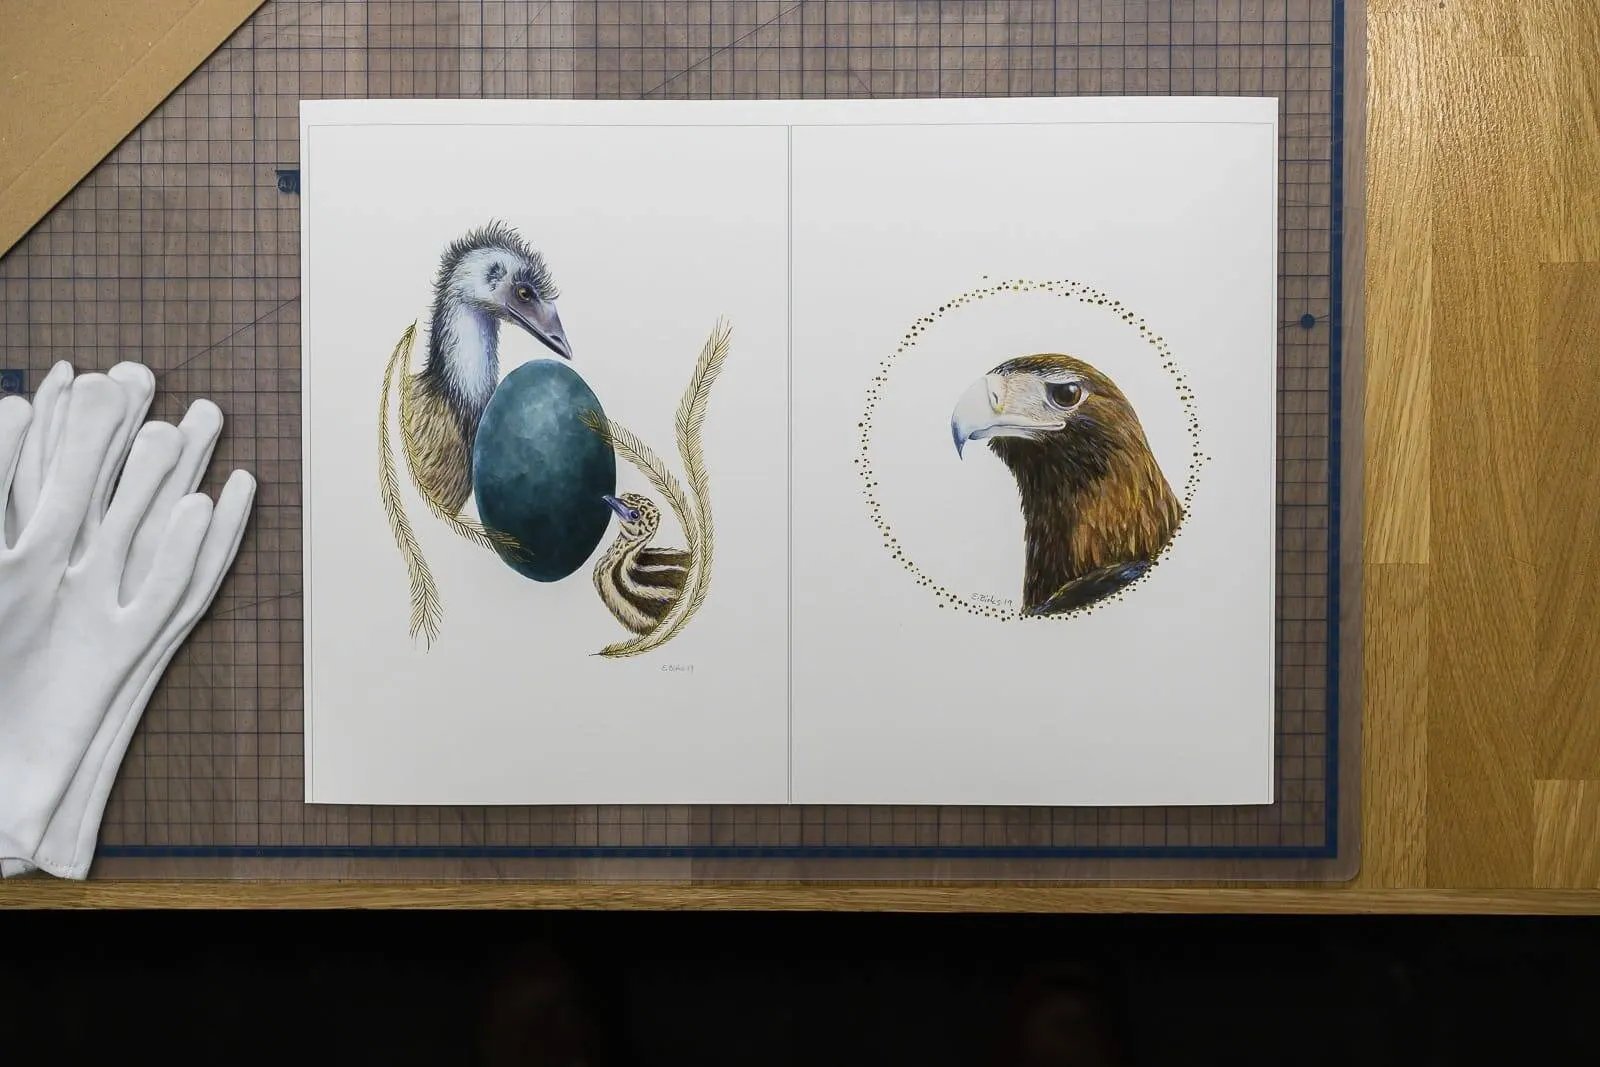
Professionally Mounted Prints:
Dibond Mounted Prints (Archival)
Alupanel Mounted Prints (Archival)
Acrylic Mounted Prints (Lightboxes)
PAT Certified Archival Adhesives
Neschen gudy 831
Neschen gudy 832
Neschen gudy 870
Neschen gudy PP clear
Custom Sizes
We accommodate an additional 5mm for trimming when mounting. Please ensure your image has capacity to be trimmed ~2.5mm on all edges.
Mounting materials include Alupanel/Dibond/ACM/ACP (3mm). Adhesives: Certified Archival - Neschen Gudy 832, or Premium - General Purpose. Optional lamination (Satin - Ilfoguard Pro Satin) is suitable for use with resin-coated photographic papers.
Get a quote
Get an instant price for custom-sized archival print mounting and order online.
Order OnlineWhat are the different levels of framing quality?
Our made to measure fine art framing is made to one of the following standards.
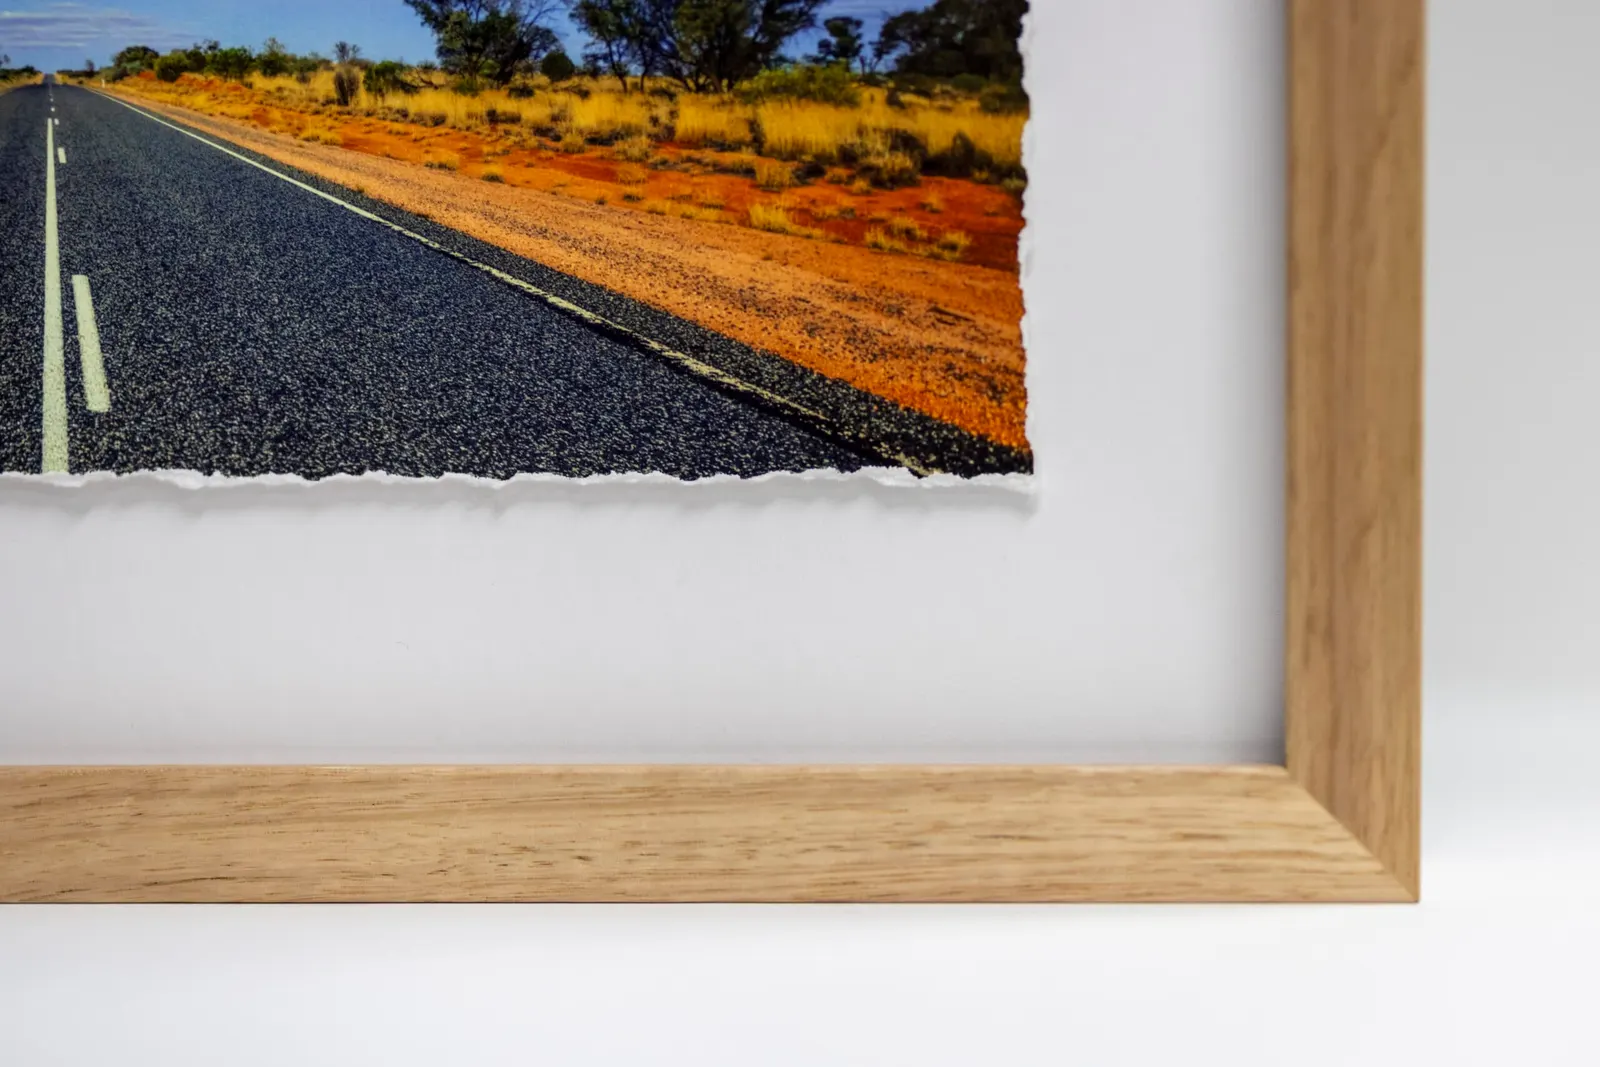
Premium Framing
Premium level framing uses materials and processes to protect and preserve artworks for up to 5-10 years in ideal conditions.
Typical Materials
- Peterboro Whitecore Board
- TrueVue Premium Glass/Acrylic
- TruVue Ultravue AR70 Glass
- Filmoplast P90 Archival Framing Tape
Conservation Framing
Conservation level framing uses materials and processes to protect and preserve artworks for up to 20 years in ideal conditions.
Typical Materials
- Peterboro Conservation Board
- TrueVue Conservation Glass/Acrylic
- Artglass UV 99
- Lineco Water-Activated Hinging Tape
Museum Framing
Museum level framing uses materials and processes to protect and preserve artworks for up to 35 years in ideal conditions.
Typical Materials
- Peterboro Museum Board
- TruVue Museum Glass/Acrylic
- Artglass AR 99 Protect
- Lineco Water-Activated Hinging Tape
What mounting solves
Paper moves. It takes up moisture from the air and gives it back, and as it does it expands and contracts across the sheet. In a frame behind glass that shows up as rippling - the print bows gently between its fixings, catches the light, and no amount of straightening the frame fixes it. On a large print it is the difference between work that looks finished and work that looks like a poster.
Mounting bonds the print to a rigid substrate so it cannot move. The print becomes flat permanently, and stays flat through summer humidity and winter heating. It also opens up presentation options that a framed print cannot offer: a mounted print can hang with no glazing at all, which removes reflections entirely and lets the paper surface read the way it does in the hand.
The trade-off is honest and worth stating. A mounted print is bonded, and bonding is not reversible. That makes it the right answer for a photographic print you can reprint, and the wrong answer for an original work on paper - which should be hinged inside a frame so it can be taken back out. If the piece is irreplaceable, a mat and a frame is the correct build, not this one.
Why the adhesive is the part that matters
Almost anything will stick a print to a board. The question is what that adhesive does over the following decade, in the dark, against the back of your photograph.
Ordinary spray adhesives and pressure-sensitive tapes yellow, they turn acidic, and they eventually either let go or refuse to - the failure modes are stains that come through to the front, or a bond that has fused so hard the print cannot be recovered at all. Neither shows up in the first year, which is exactly why the cheap route stays popular.
P.A.T. is the test that settles it. The Photographic Activity Test, standardised as ISO 18916, incubates a material against photographic emulsion under heat and humidity and looks for staining and image degradation. A material that passes has been shown not to attack a photograph in accelerated conditions. It is the one part of the mounting process carrying a formal international standard number, and it applies to the adhesive and mounting materials rather than to the print itself.
The Neschen Gudy adhesives listed above are P.A.T. certified. Where a job does not need archival permanence - a short-run exhibition, a trade display, signage with a known lifespan - we will say so and use a general-purpose adhesive instead, because there is no sense charging for longevity a job does not need.
Choosing a substrate
The board behind the print determines how flat it stays, how heavy it hangs and how it behaves over time.
- Aluminium composite (Dibond, Alupanel, ACM/ACP), 3mm. Two thin aluminium skins bonded either side of a polyethylene core. It is dimensionally stable, does not absorb moisture, will not warp with humidity, and is rigid enough to hang large work with no frame at all. It is the default for exhibition and gallery pieces, and it is what we reach for when flatness has to hold for decades.
- Acrylic. Used for face-mounted work and lightboxes, where the print sits behind clear acrylic and gains considerable depth and gloss. A distinctive look, and a demanding one - any dust trapped at the moment of bonding is permanent.
- Foamboard. Light and inexpensive, and appropriate for temporary display. It dents if handled roughly, and its core is not archival, so it is not what you want under work you intend to keep.
Lamination
An optional laminate over the face adds scratch and moisture resistance, which matters for work that will be handled, touched or displayed somewhere public. We use a satin film (Ilfoguard Pro Satin), suited to resin-coated photographic papers. Note that lamination changes the surface: it evens out the paper's texture and shifts how the print reflects light, so on a fine art rag it can work against the reason you chose that stock. On a photographic print destined for a busy space, it is usually the right call.
Preparing files for mounting
Mounting is trimmed after bonding, not before, because trimming to the final size afterwards is what produces a clean edge with no adhesive creep. That means the print needs a little material to lose.
We allow an additional 5mm for trimming, so please make sure your image can afford roughly 2.5mm off each edge without losing anything you care about. In practice: keep signatures, borders and important detail clear of the outer few millimetres, and if your composition runs right to the edge, supply it slightly oversized rather than exactly to size.
If you are unsure whether your file has the resolution for the size you have in mind, the print size calculator will tell you before you commit. For an instant price on a mounted print at your dimensions, use the mounted print configurator.