We use the term print ready to describe a file that meets the technical specifications to submit the file directly into the print workflow without additional work.
Files that are not correctly set up for print require manual intervention, resulting in additional lead-time and setup costs.
Here are a few tips to help you make sure your files are correctly set up for fine art printing.
Choose the correct file type (JPEG or TIFF)
The correct file types for fine art printing are flattened TIFF or JPEG files.
Print-ready, high-quality JPEG files are perfectly well suited for fine art printing. For the best result when submitting JPEG files, use the highest quality export option available.
TIFF files are only required if substantial additional editing is expected or required during a print proofing process, in particular when working on shadow and highlight details.
Note: Layered TIFF files must be flattened and rasterised for print.
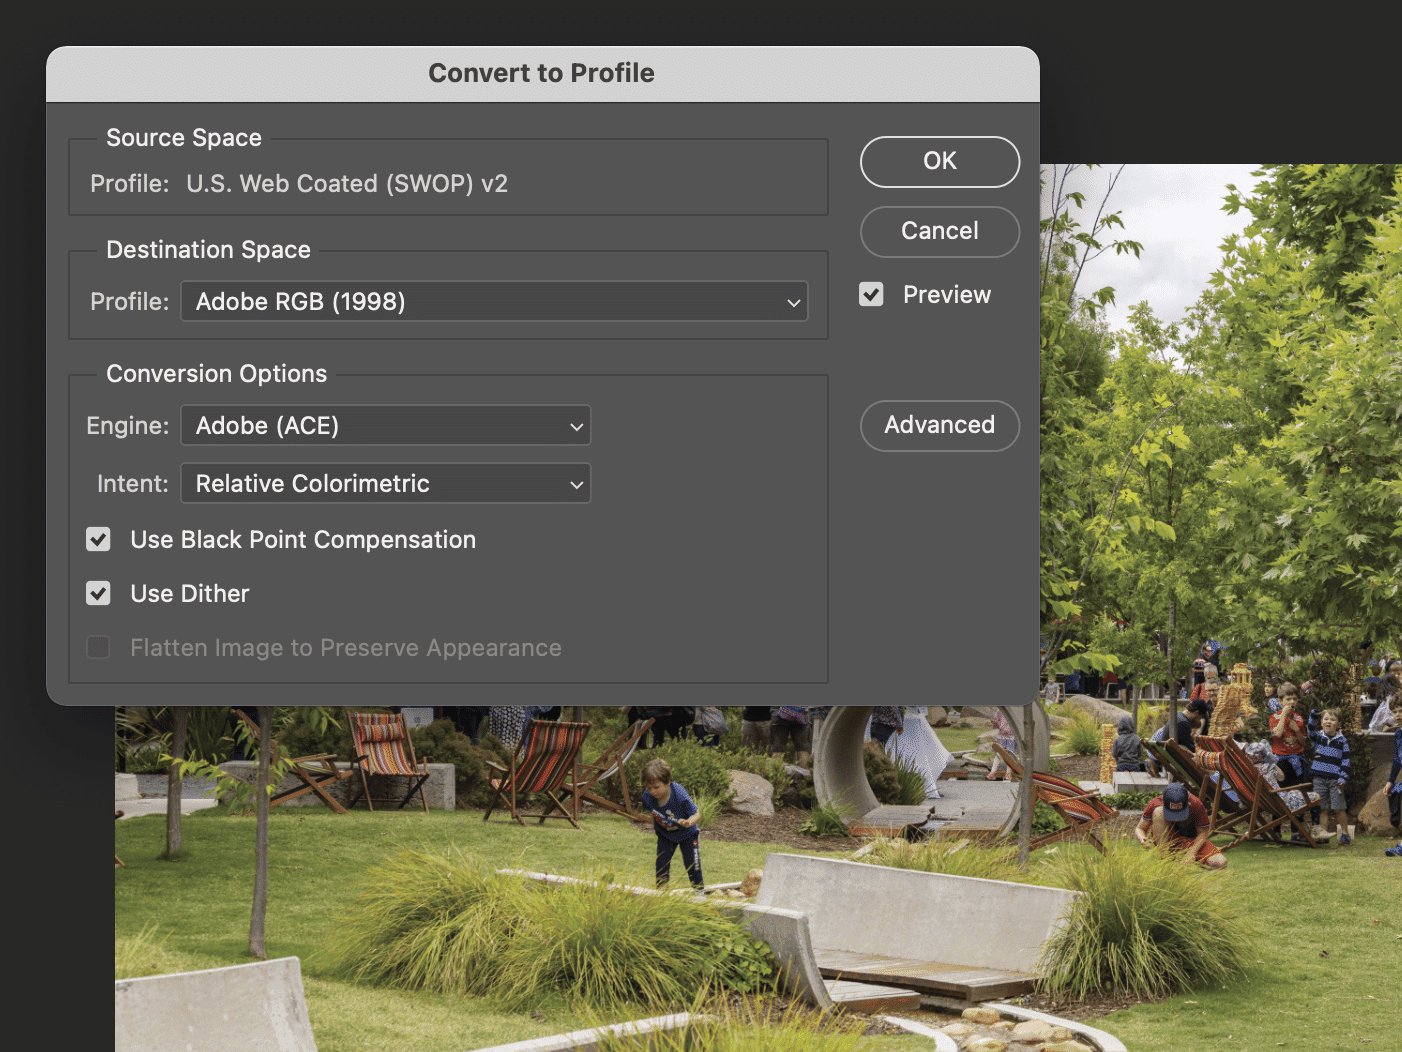
Choose the correct colour profile (AdobeRGB or sRGB)
Ensure your print is in the RGB colourspace, usually AdobeRGB.
We do not use CMYK like traditional production printers. The CMYK process uses 4 colours to produce prints while our wide-format fine art printers use 12 colours to produce prints.
In Adobe Photoshop, you can check and convert your colour profile in: Edit > Convert to Profile.
Set your destination space to your preference.
The default settings are generally fine to use. You’ll see any colour differences reflected when the preview box is checked.
Set dimensions and resolution
Your print-ready file should be set between 300-600 PPI.
If you’re scaling (resampling) your image to a higher resolution and you’re unsure of how it will print, we recommend you test print a portion of your work to confirm the print quality.
Printing files with a resolution higher than 600 PPI doesn’t result in an increase in visible print clarity. You simply end up managing larger print files.
In Adobe Photoshop, you can find image size and resolution settings in: Image Menu > Image Size.
Keyboard Shortcuts Mac: Option + Command + I Win: Alt + Ctrl + I
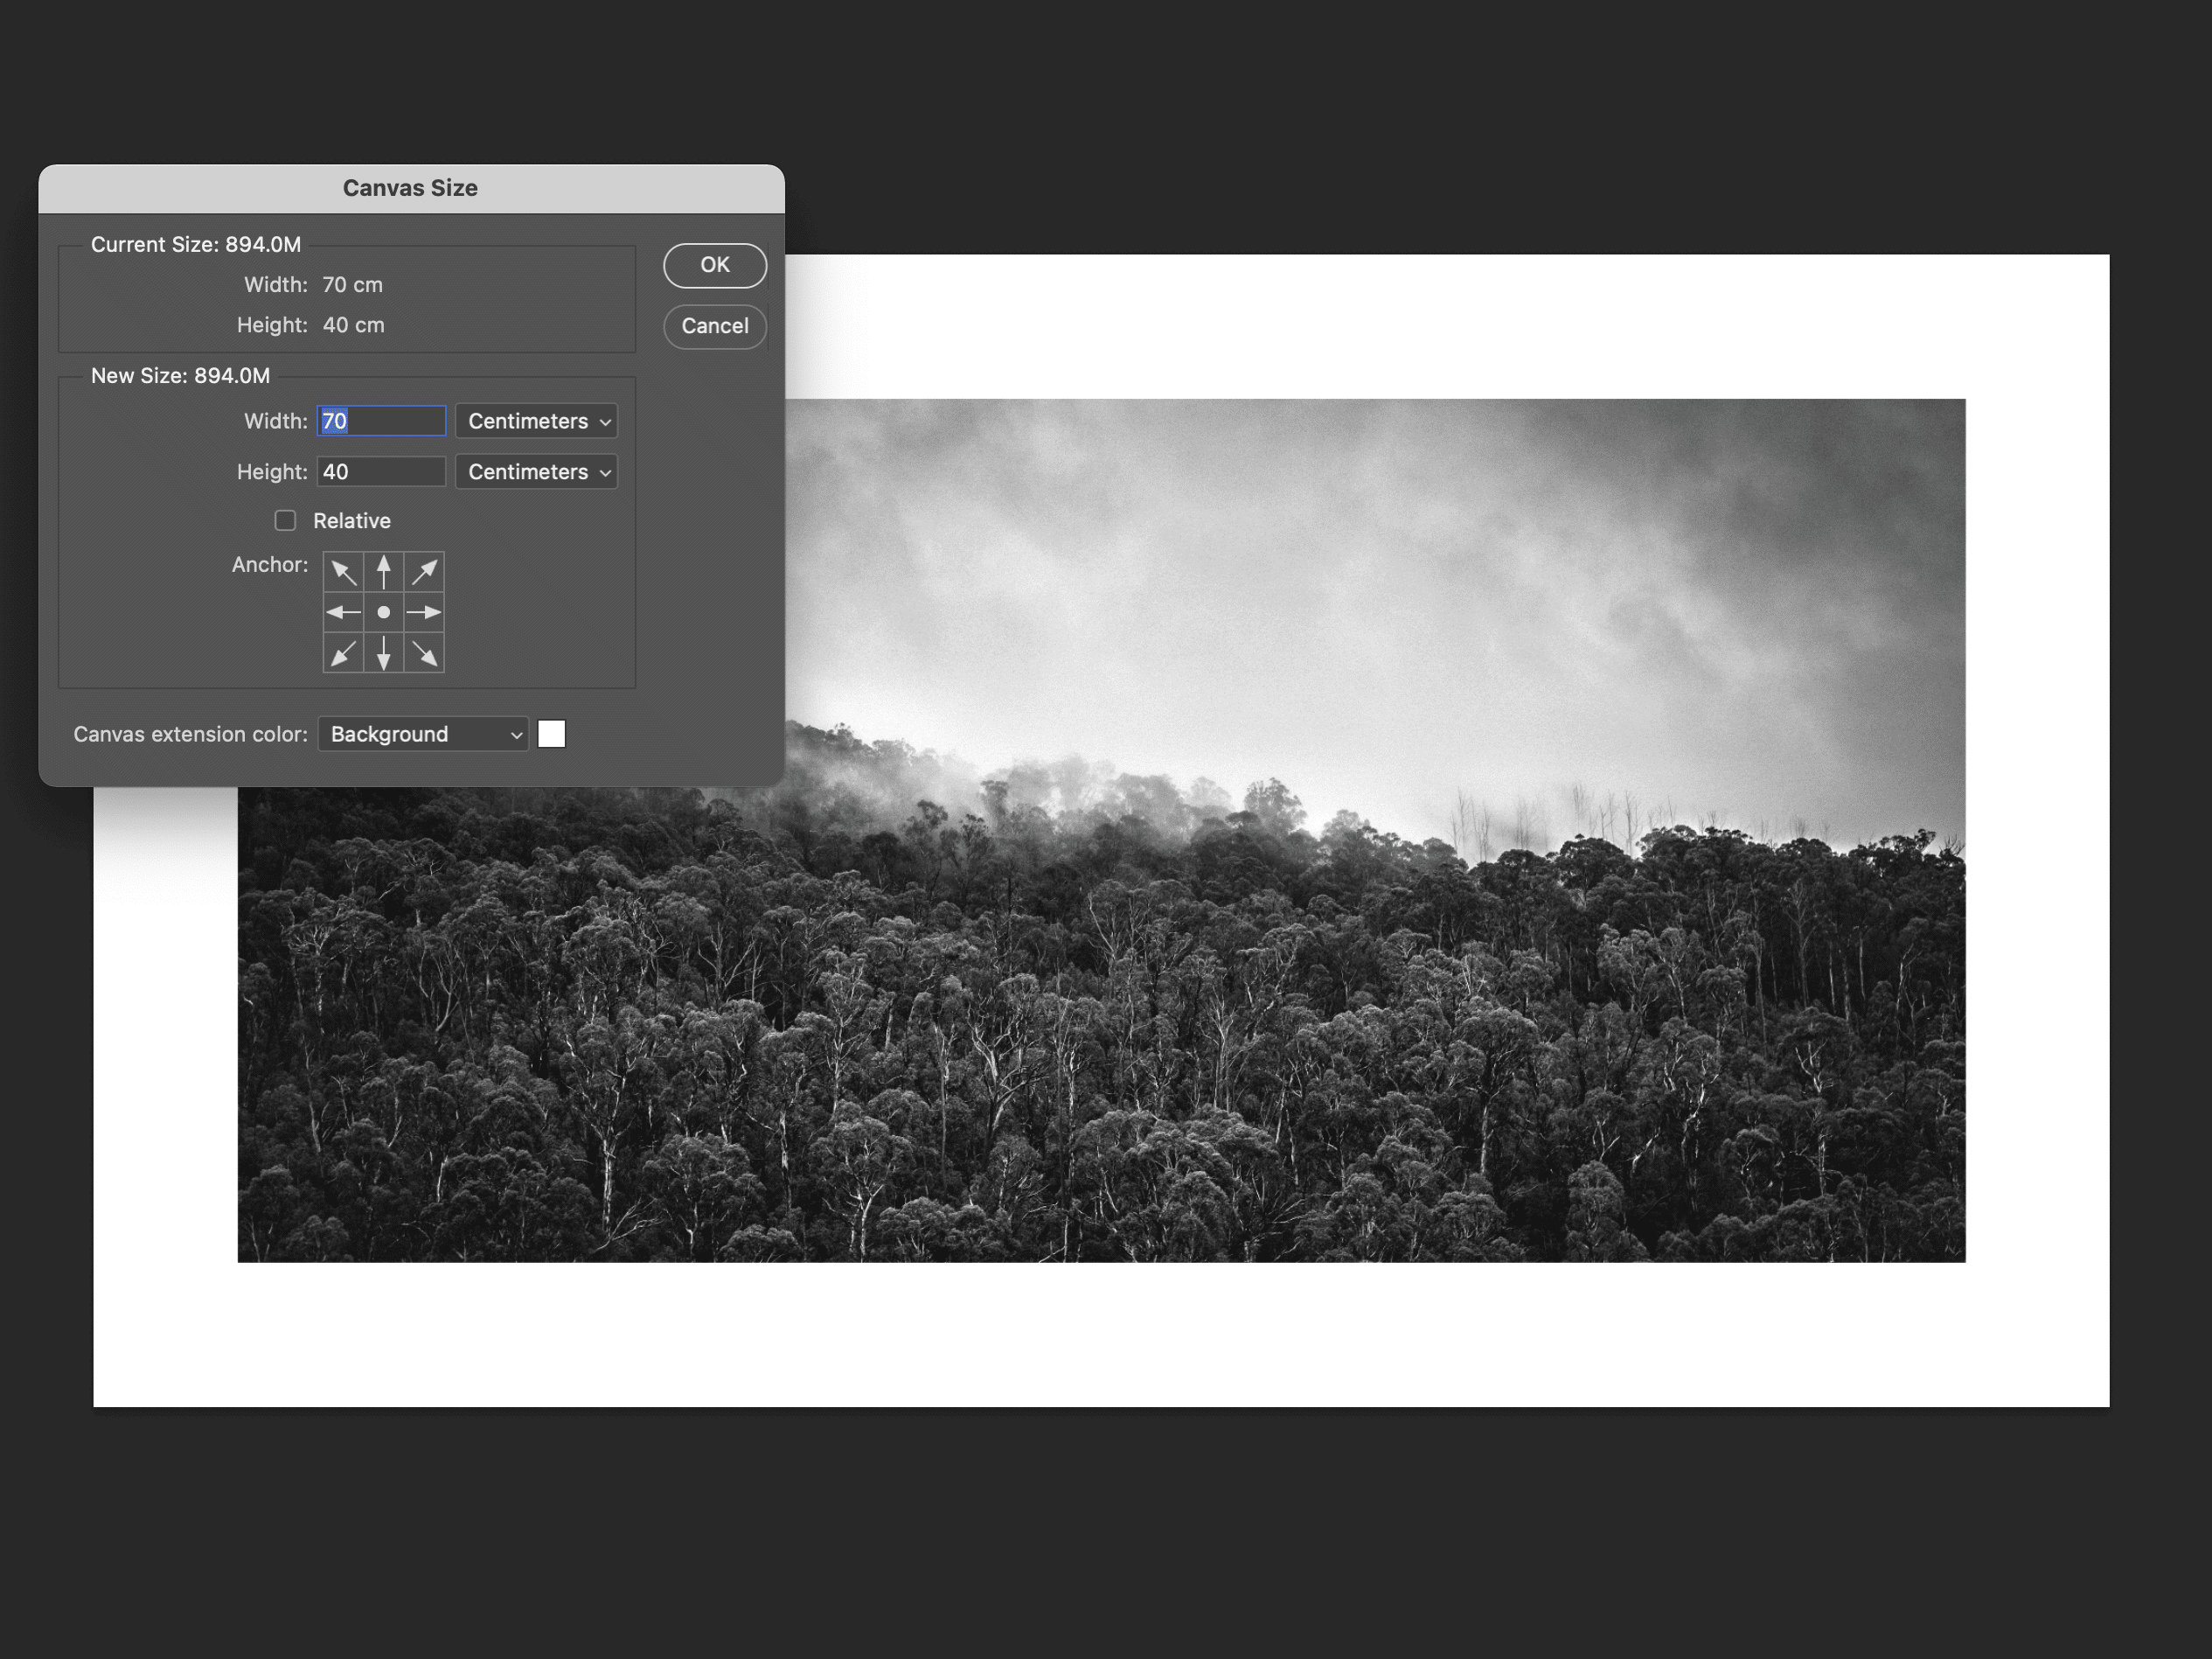
Add your print borders
Additional borders should be included within your print-ready artwork file. The file that we print will be the same size as the print you submit, including your print borders.
This print file is set up to print at 40x70cm at 600 PPI.
The original photograph is 30 x 60cm and includes a 5cm border.
Don't add crop marks/bleeds
Files set up for fine art printing don’t require crop marks, bleeds or registration marks.
We create our prints with a single pass, don’t add additional finishes and trim our prints individually.
Updated on October 29, 2023
Need additional help?
We can help with professional print consulting, file setup and editing services. Get in touch with your requirements.